Quick Links
If you've been using Microsoft Whiteboard, then you will know there's more to the application than meets the eye. Here are some features, tips, and tricks to help convert you from a Microsoft Whiteboard novice to a Whiteboard master.
Change the Background Color and Pattern
A clean blank whiteboard can be a tempting place to draw whatever you want, but, like a blank piece of paper, it can also be a bit intimidating.
Whiteboard lets you change the background color to something more soothing to the eye than bright white, and also add in geometric patterns so you can position your work in exactly the right place.
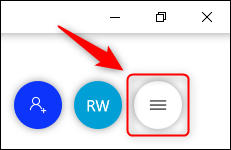
To change the background, open the Whiteboard application and then click the three-line "Settings" menu button in the top right.
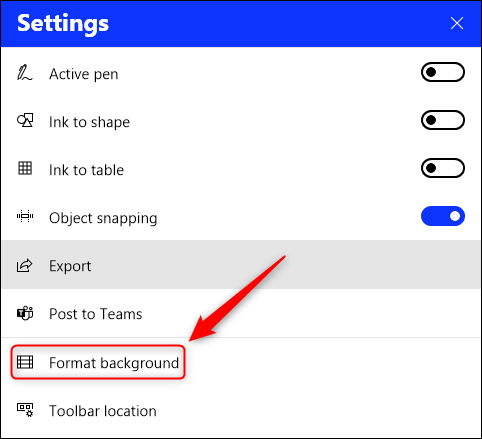
In the menu that opens, select "Format Background."
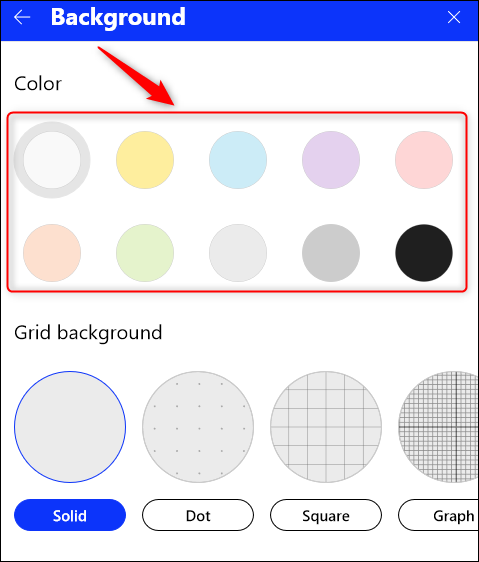
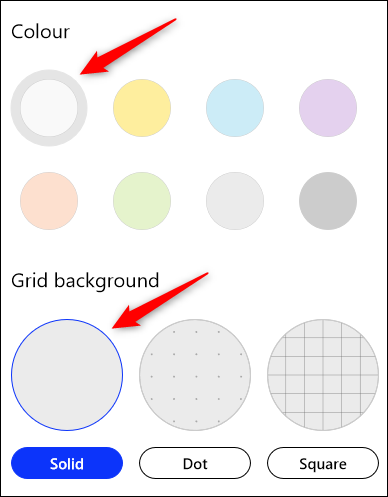
Click a color to change the background from white to something else.
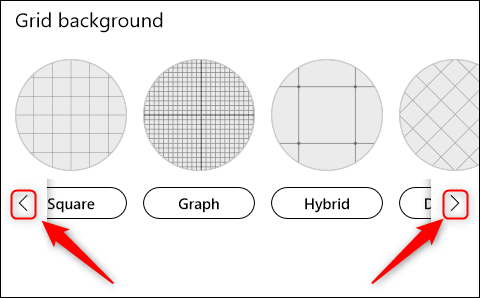
To add a geometric pattern, select one of the visible patterns or hover over them to see direction arrows that let you scroll through additional patterns.
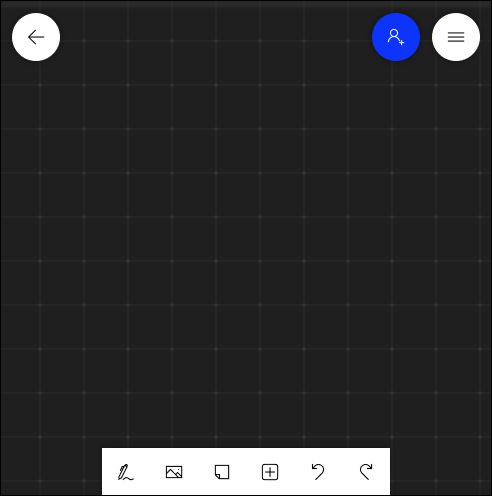
We've gone for a retina-pleasing charcoal with the "Hybrid" design in the following example.
To return to the default whiteboard, go back into Settings > Format Background and change the settings to White and Solid.
Move the Toolbar to the Side
Now that your whiteboard has the background you want, move the toolbar to where you want it. The bottom of the screen isn't always the easiest place to get to, and if you have your Windows taskbar set to automatically hide, it's annoying having it pop up every time you want to change your Whiteboard tool.
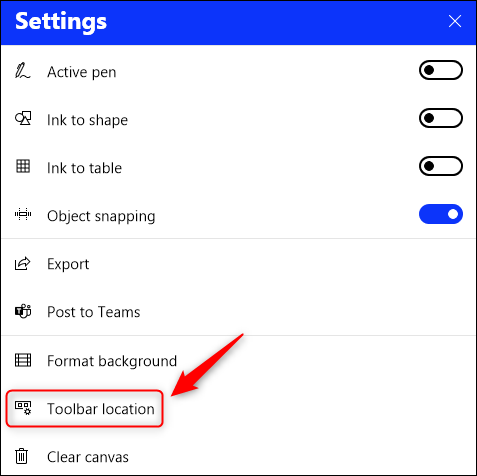
Let's move the toolbar to the side. Start by clicking the "Settings" button in the top right.
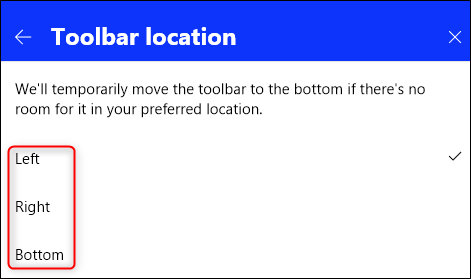
In the menu that opens, select "Toolbar Location."
Select the location for the toolbar by clicking one of the three location options: Left, Right, or Bottom.
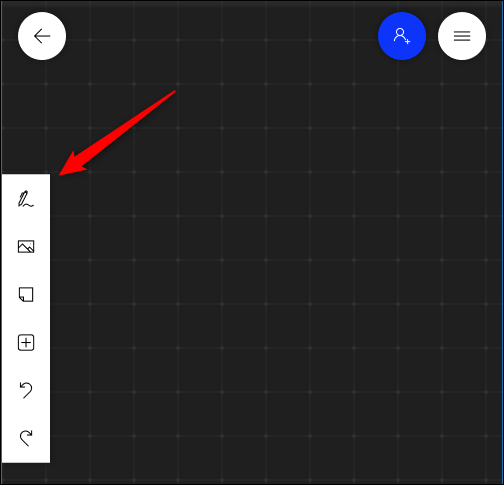
We've chosen for the Left option, so it's out of the way but easy to access.
Turn on Ink To Shape
People with artistic talents might be able to draw straight lines and circles at will, but most of us struggle with this. Whiteboard can automatically turn your rough attempts into precise shapes if you turn on "Ink To Shape."
To do this, click the "Settings" button in the top right.
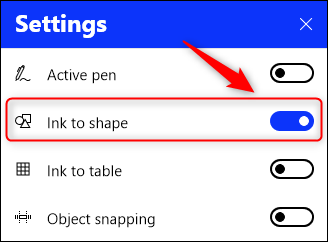
In the menu that opens, select the "Ink To Shape" toggle button to turn on the feature.
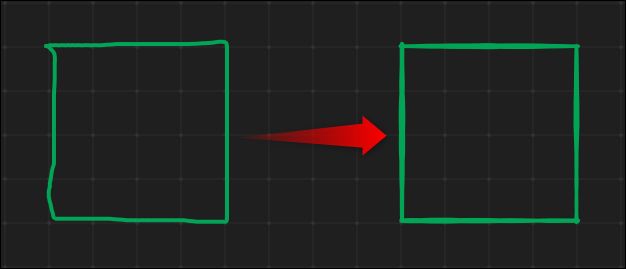
Now, when you draw a shape, Whiteboard will turn it into something a little more precise.
If you don't want your squiggly lines to be replaced with a precise shape, press the CTRL+Z keys or the "Undo" button on the toolbar to revert to your original drawing.
Ink To Shape currently works for squares, rectangles, triangles, circles, hexagons, pentagons, and parallelograms.
Lock Images in Place
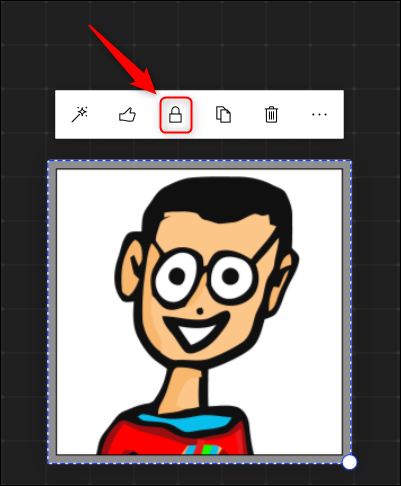
Once you've added an image to your Whiteboard, you can lock it in place so that it doesn't get moved around. This is really useful for reference images, or where you want the image to remain central to the board no matter what you move around it.
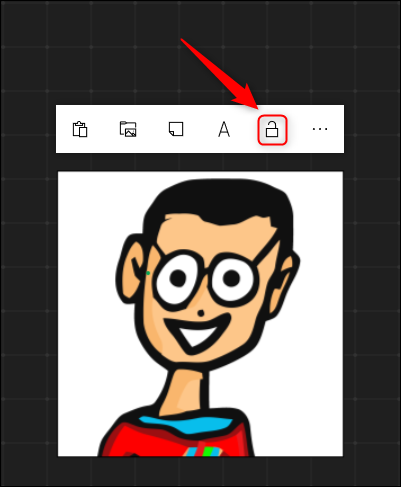
Add your image to the board and then resize and position it how you want. From there, right-click the image, and in the context menu, select "Lock To Background."
This will prevent the image from being moved or resized. To unlock the image, right-click it again, and in the context menu, select "Unlock From Background."
Export the Whiteboard as an Image
In the good old days, when we worked in offices with real whiteboards, you could capture what's on a whiteboard by taking a photo with your phone. The modern equivalent is to export your board as a picture, which is great for adding to a Wiki, project plan, or documentation.
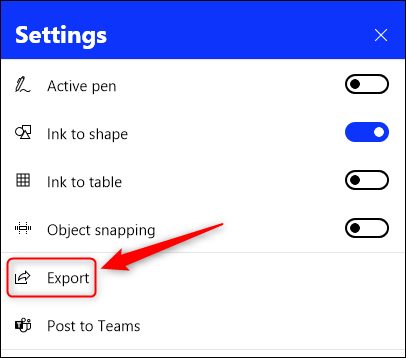
To do capture your whiteboard, click the three-line "Settings" button in the top right.
In the menu that opens, select "Export."
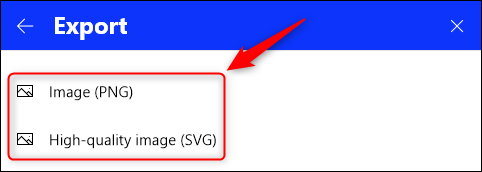
Click on one of the available options to choose either a PNG or SVG file.
The standard file save dialogue will open. Choose a location to save to, a name for the whiteboard, and then save the image. The photo of the board will be saved in the format you've chosen.
Clear the Canvas
Sometimes, what you put on the whiteboard just isn't right. Rather than using the eraser tool to manually remove things, you can nuke everything and start again.
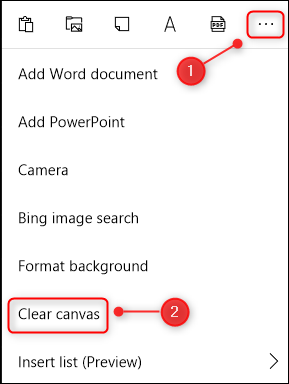
Right-click anywhere on the board, select the three-dots on the "Context" menu and then choose the "Clear Canvas" button.
Your board will be cleared of all content. A small but nice touch is that any background formatting will stay, so you won't have to redo that before getting on with adding things to your board.

